This post will provide a quick start guide to using Umbraco v9 as a Headless CMS with friendly documentation for folks using your APIs.
This is built on Umbraco v9 Alpha 4 release, it's likely that things will change between now and launch later in 2021. I will try and keep this up to date but worth noting that if you visit here in a few months it may be out of date.
First of all, let’s get started with the Umbraco .Net Core alpha. See instructions from Umbraco HQ on setting up the nuget source and templates here and below are the steps I have taken for this project.
Create new project (note: we are using sqlCe):
dotnet new umbraco -n Umbracov9AlphaAPIs -ce
Build
dotnet build
Run (& watch for changes)
dotnet watch run
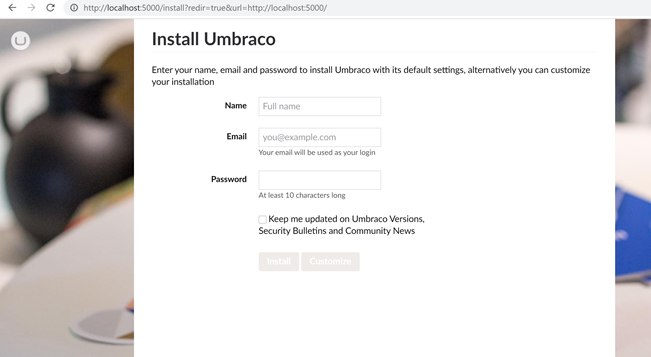
Navigate to the url it’s watching on (localhost:5000 in this example), you’ll get the Umbraco install wizard. Complete the set up details and continue through this. You will then be able to log in to the Umbrco backoffie.
Content Setup
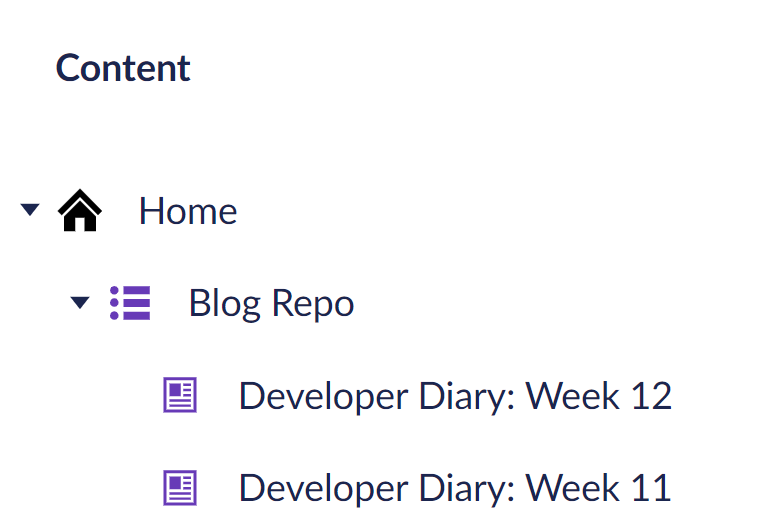
Set up Doctype structure. Super simple to start, I have a “home” node with a “blogRepo” that contains nodes of type “blogPost”. The content is set up and has a few sample posts based on my Developer Diary weekly blogs.
Open the folder of this project in Visual Studio (or VS code, or whatever editor you like!). Have a look around the file structure, familiar but a few differences from v8 Umbraco.
I am building a headless project, meaning I won’t be creating any front end views, just APIs. Next up, let’s create a folder in the project “Controllers” and a file “BlogController.cs”. This will be where we build our first API endpoints. I also have a “BlogPostModel” that shows the object the API will be returning.

The controller has a GET method that gets the nodes of blogPost doctypes and adds them to a list to return in response. See code snippet below and the model class here:
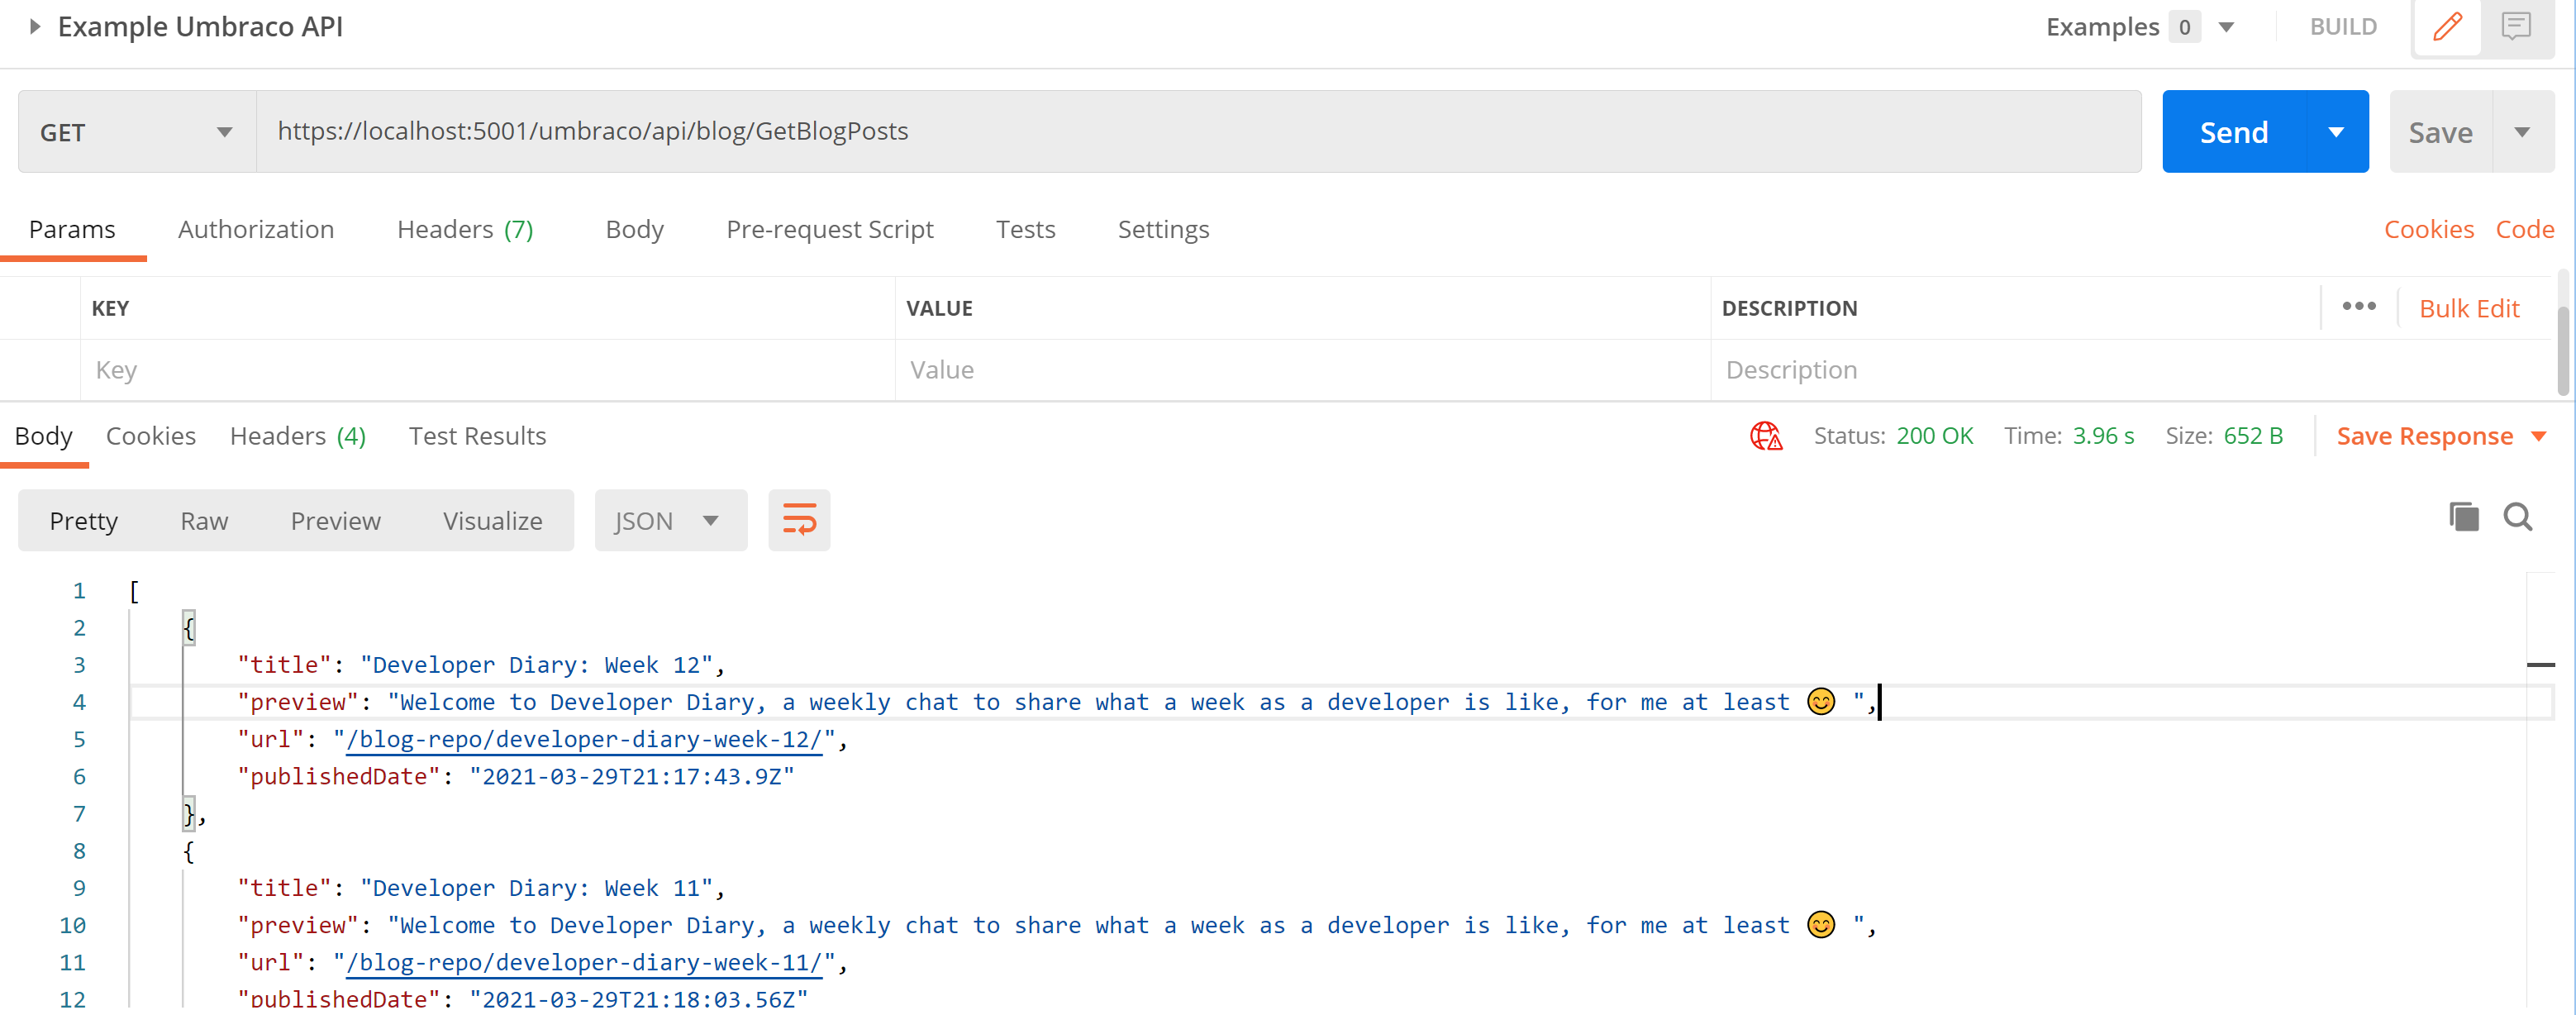
When we create a controller than extends UmbracoAPIController, our APIs are automatically available on /umbraco/api/{our custom controller}, so my api is on localhost:5000/umbraco/api/Blog.
Now I can call this in anyway I would want to test or integrate my API. Whenever I build or am integrating with a new API, I go straight to Postman. I can call my newly created API in Postman and see the results of my API call, here you can see my Umbraco content returned in JSON:
Now we have our API, ready to hand over to another developer to integrate, right?... well, how about some documentation to make our APIs as friendly as possible.
Adding API documentation
When working as the creator of APIs or the developer integrating, I am always happier with good documentation! For years I have used Swagger for API documentation, and from .Net 5, it is now the default for WebAPI docs. Let's see how to integrate to our API:
Install swaggerUI
Install-Package Swashbuckle.AspNetCore
Now we need to edit Startup.cs (this is created by default when we created our Umbraco solution) with our swagger config. See info here https://docs.microsoft.com/en-us/aspnet/core/tutorials/getting-started-with-swashbuckle.
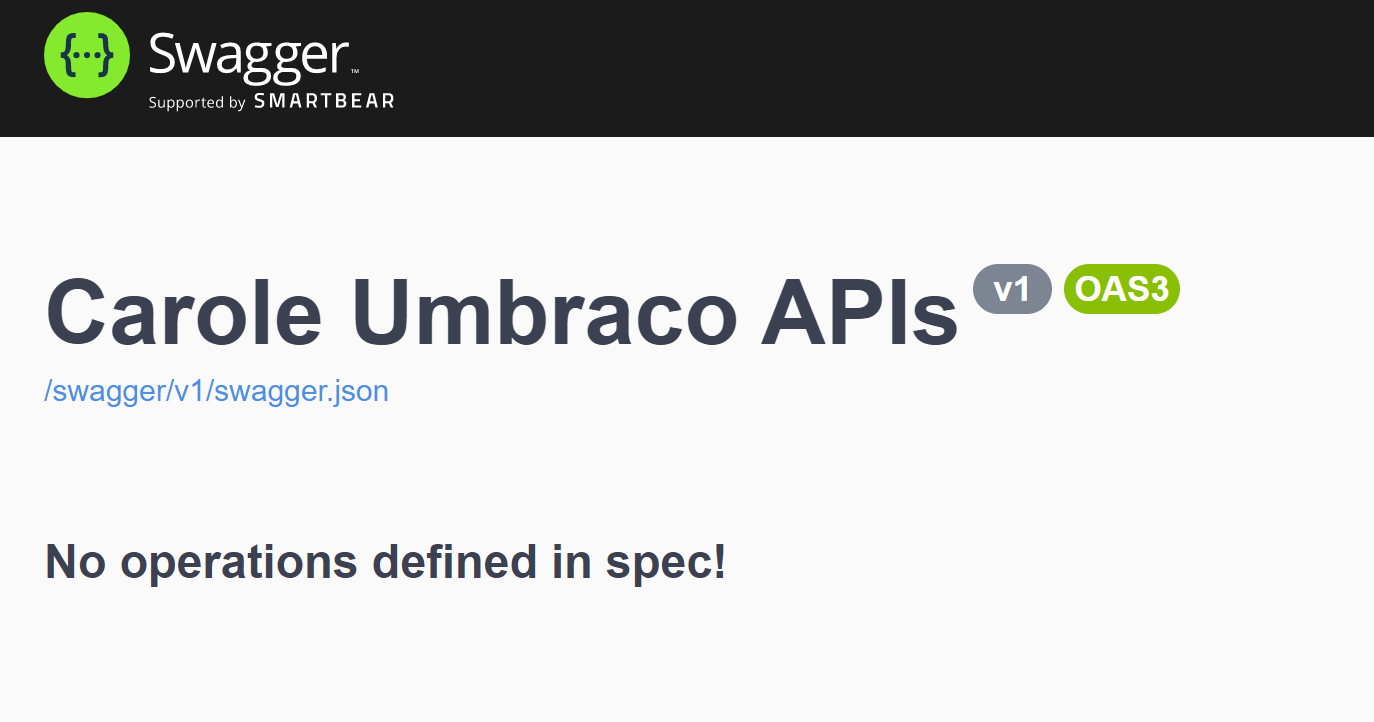
Good news, now when we go to http://localhost:5000/swagger/index.html we see our API docs UI. Bad news is you'll notice our API isn't there.
To tell the API docs generator that we have APIs to show, we need to add the relevant annotations to the controller. You can see more information on adding even more information, such as sample requests, see the docs. See the updated BlogController.cs here:
...and here it is, our API is showing in the API docs UI! We can try out the API and get real results right there in the documentation (see video).
The developers integrating with our APIs will now be able to explore the endpoints and see the structure of data returned. This undoubtedly saves time in integrating with our APIs and hopefully makes our Umbraco content APIs that wee bit friendlier.