Interested in learning about Optimizely CMS? Here is a quick getting started example of how to get a working Optimizely solution in just a few minutes using Alloy demo dotnet template.
I set up a local demo of Optimizely recently to review some functionality in the CMS so thought I'd share some of my learnings. In this post I will share how to get a local version up and running on your development machine.
Firstly, lets make sure you have .NET 6 installed and a a suitable IDE (I am using visual studio). It's worth noting a licence is needed for running on a test or production server, but for running on localhost you don't need a licence which is perfect for demo scenarios like this.
Now, we can get our relevant Optimizely .NET templates installed... you will notice they are called EPiServer, this is a legacy naming convention as the CMS product was previously called EPiServer.
In our CLI tool of choice, run this command:
dotnet new install EPiServer.Templates
You should also set up a link to Optimizley NuGet feed to ensure you get get the relevant packages:
dotnet tool install EPiServer.Net.Cli --global --add-source https://nuget.optimizely.com/feed/packages.svc/
Now, we can get our project set up! In your CLI navigate to the folder you'd like your project to be placed. Then run this command. Alloy is the name of the sample project we want to install:
dotnet new epi-alloy-mvc
You can navigate to your folder and see what has been set up:
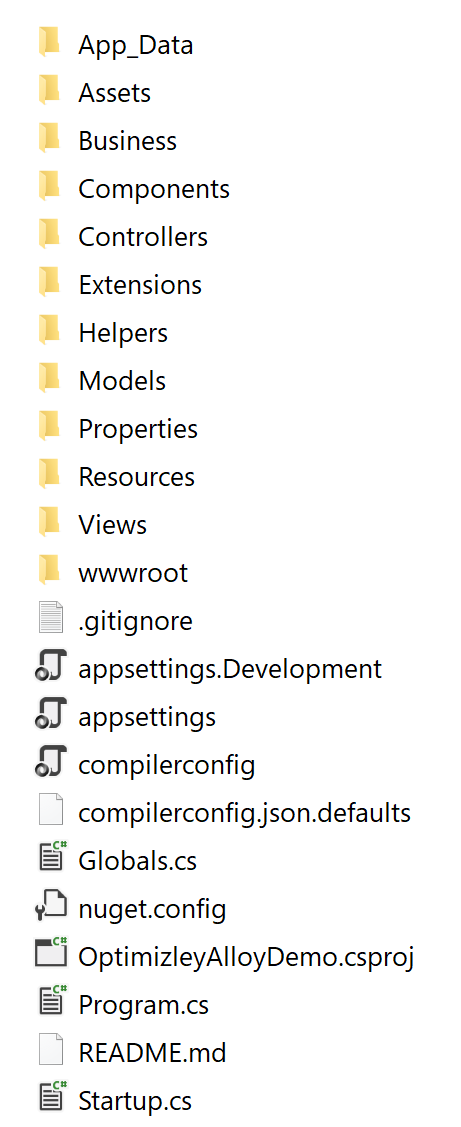
Have a look around the solution, exploring the structure and code in files. If you are a .NET developer your will recognise some of the concepts. Now we can build and run our code, back to our CLI we can run these commands:
dotnet build
dotnet run
You will see this in your CLI after running:
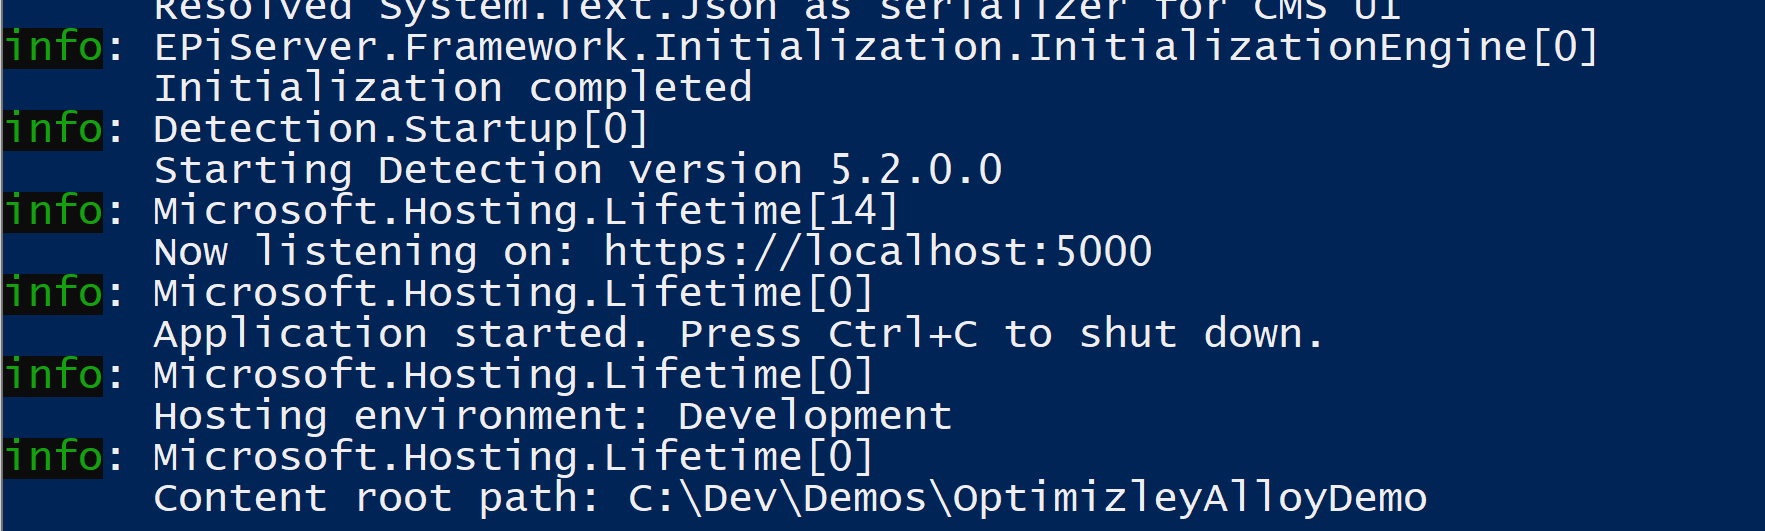
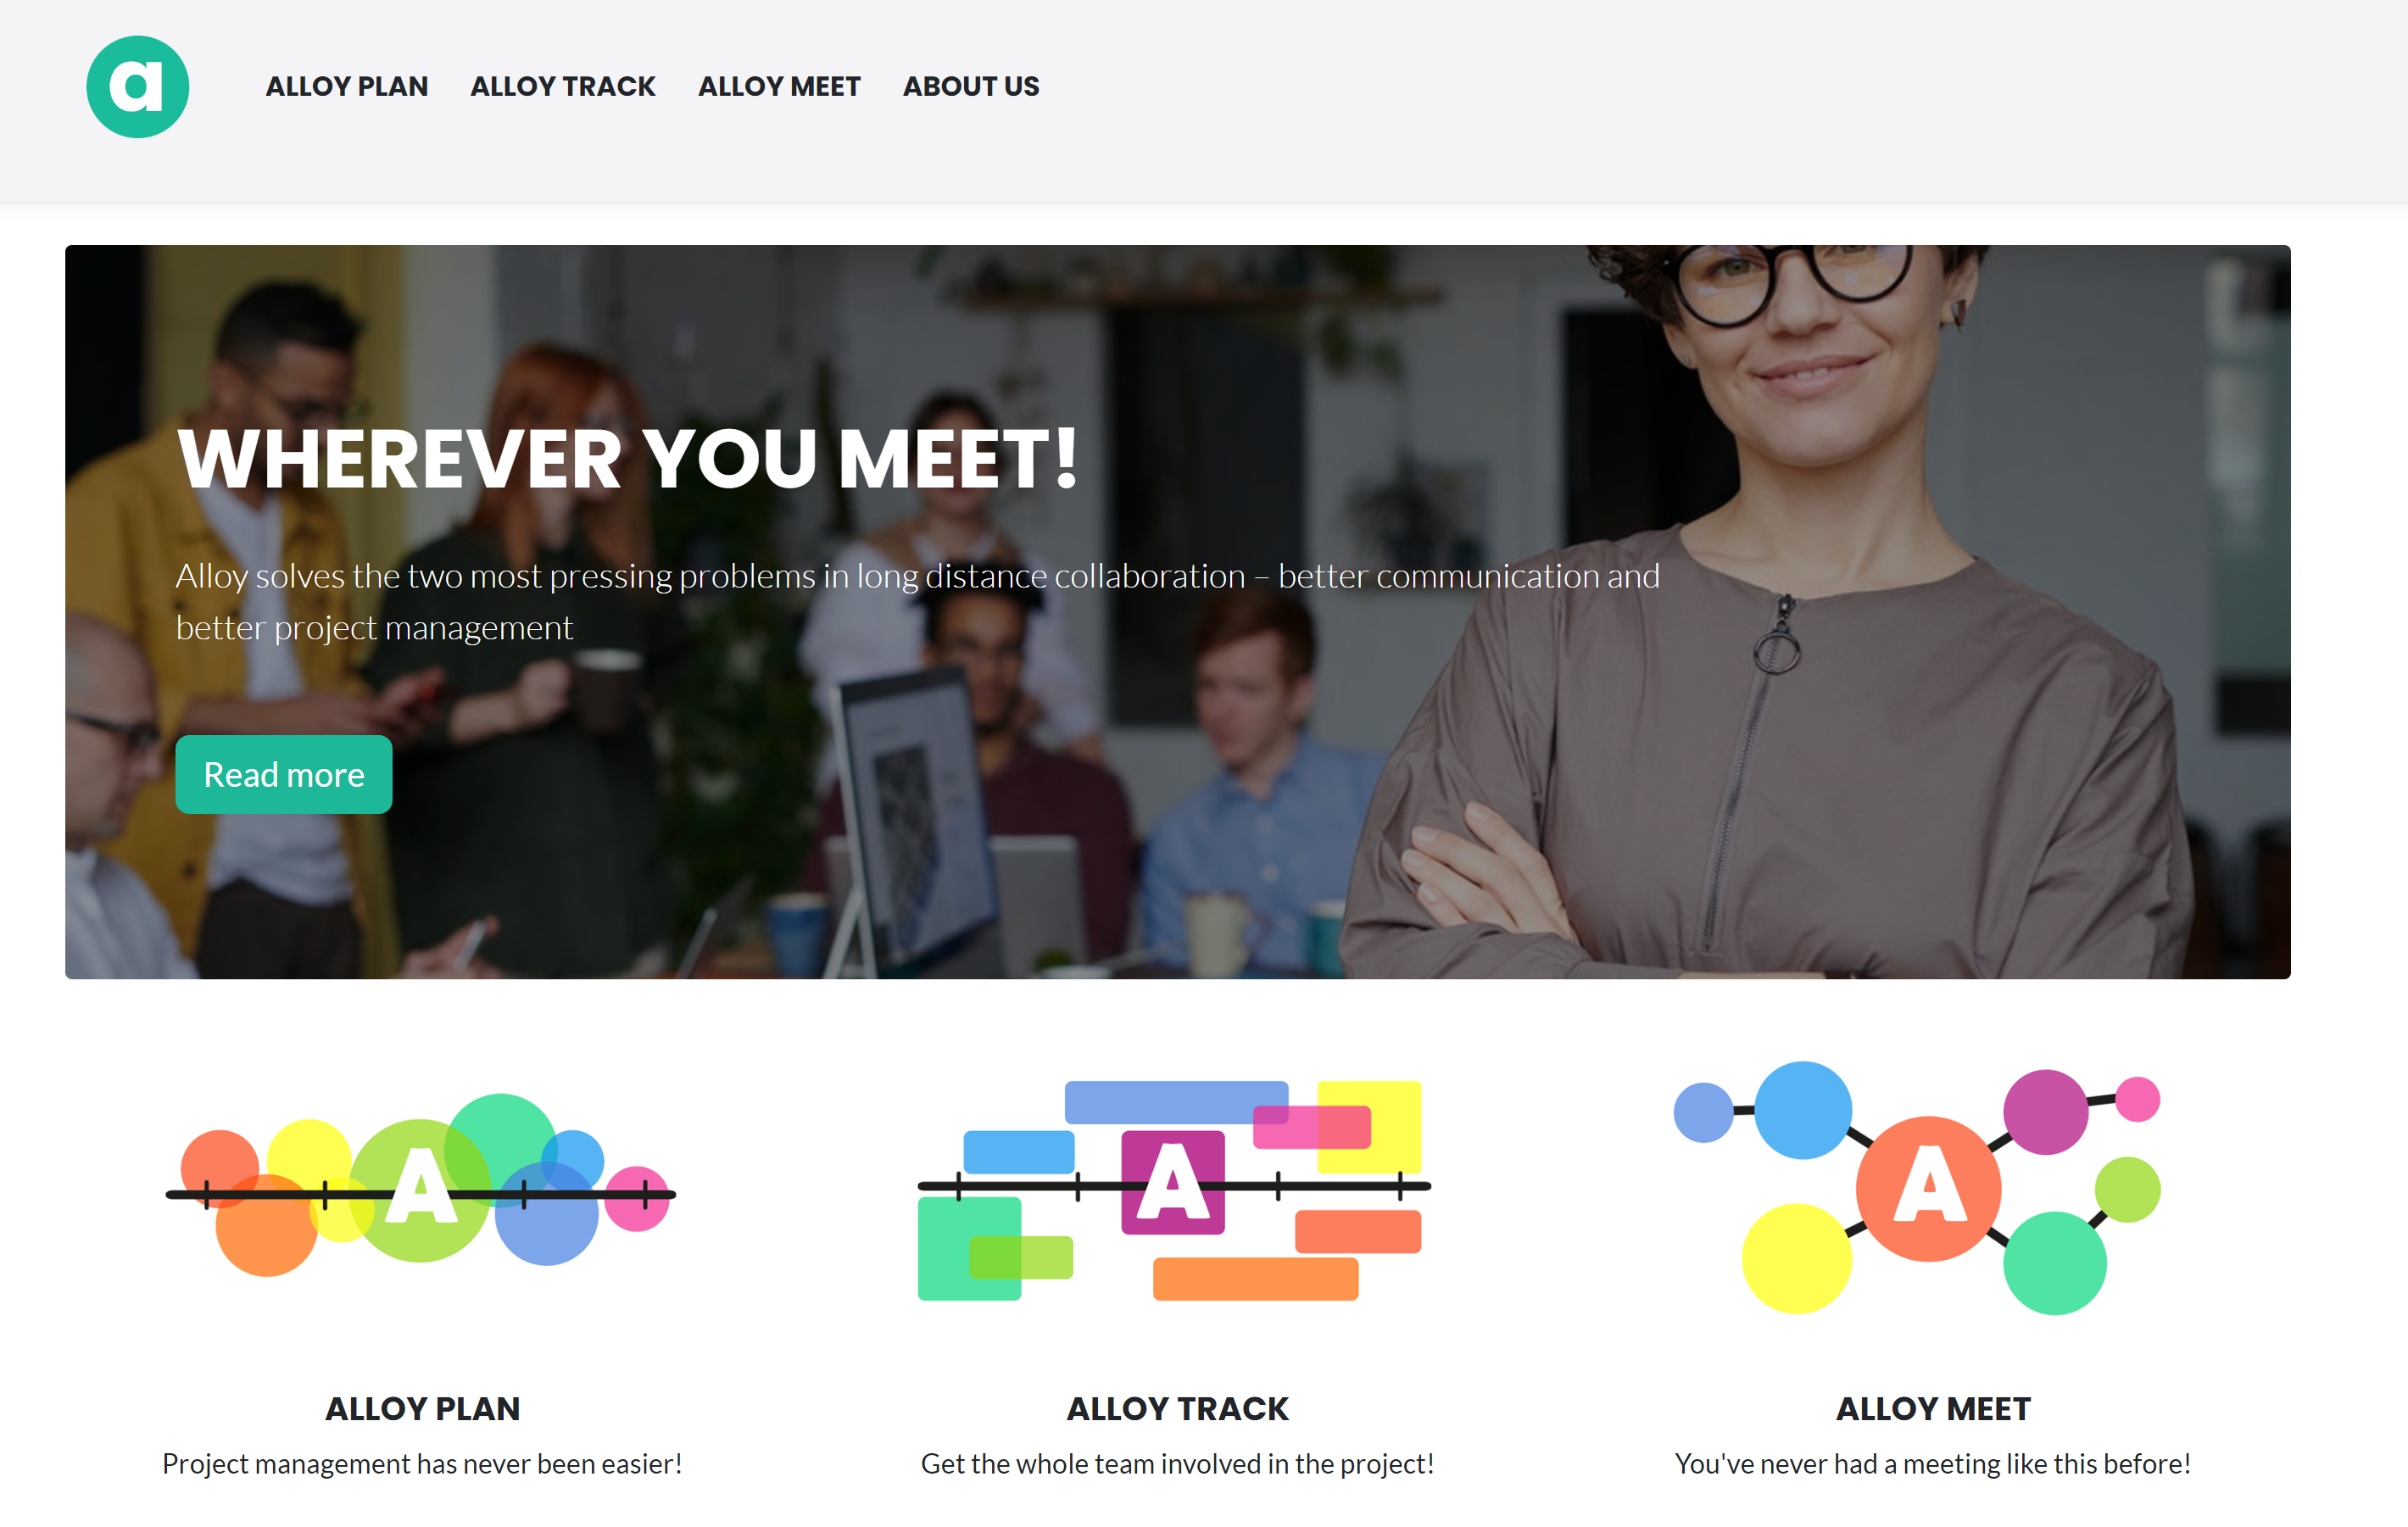
Now if we open in browser, https://localhost:5000 in my example, we can see our Optimizely site🎉:
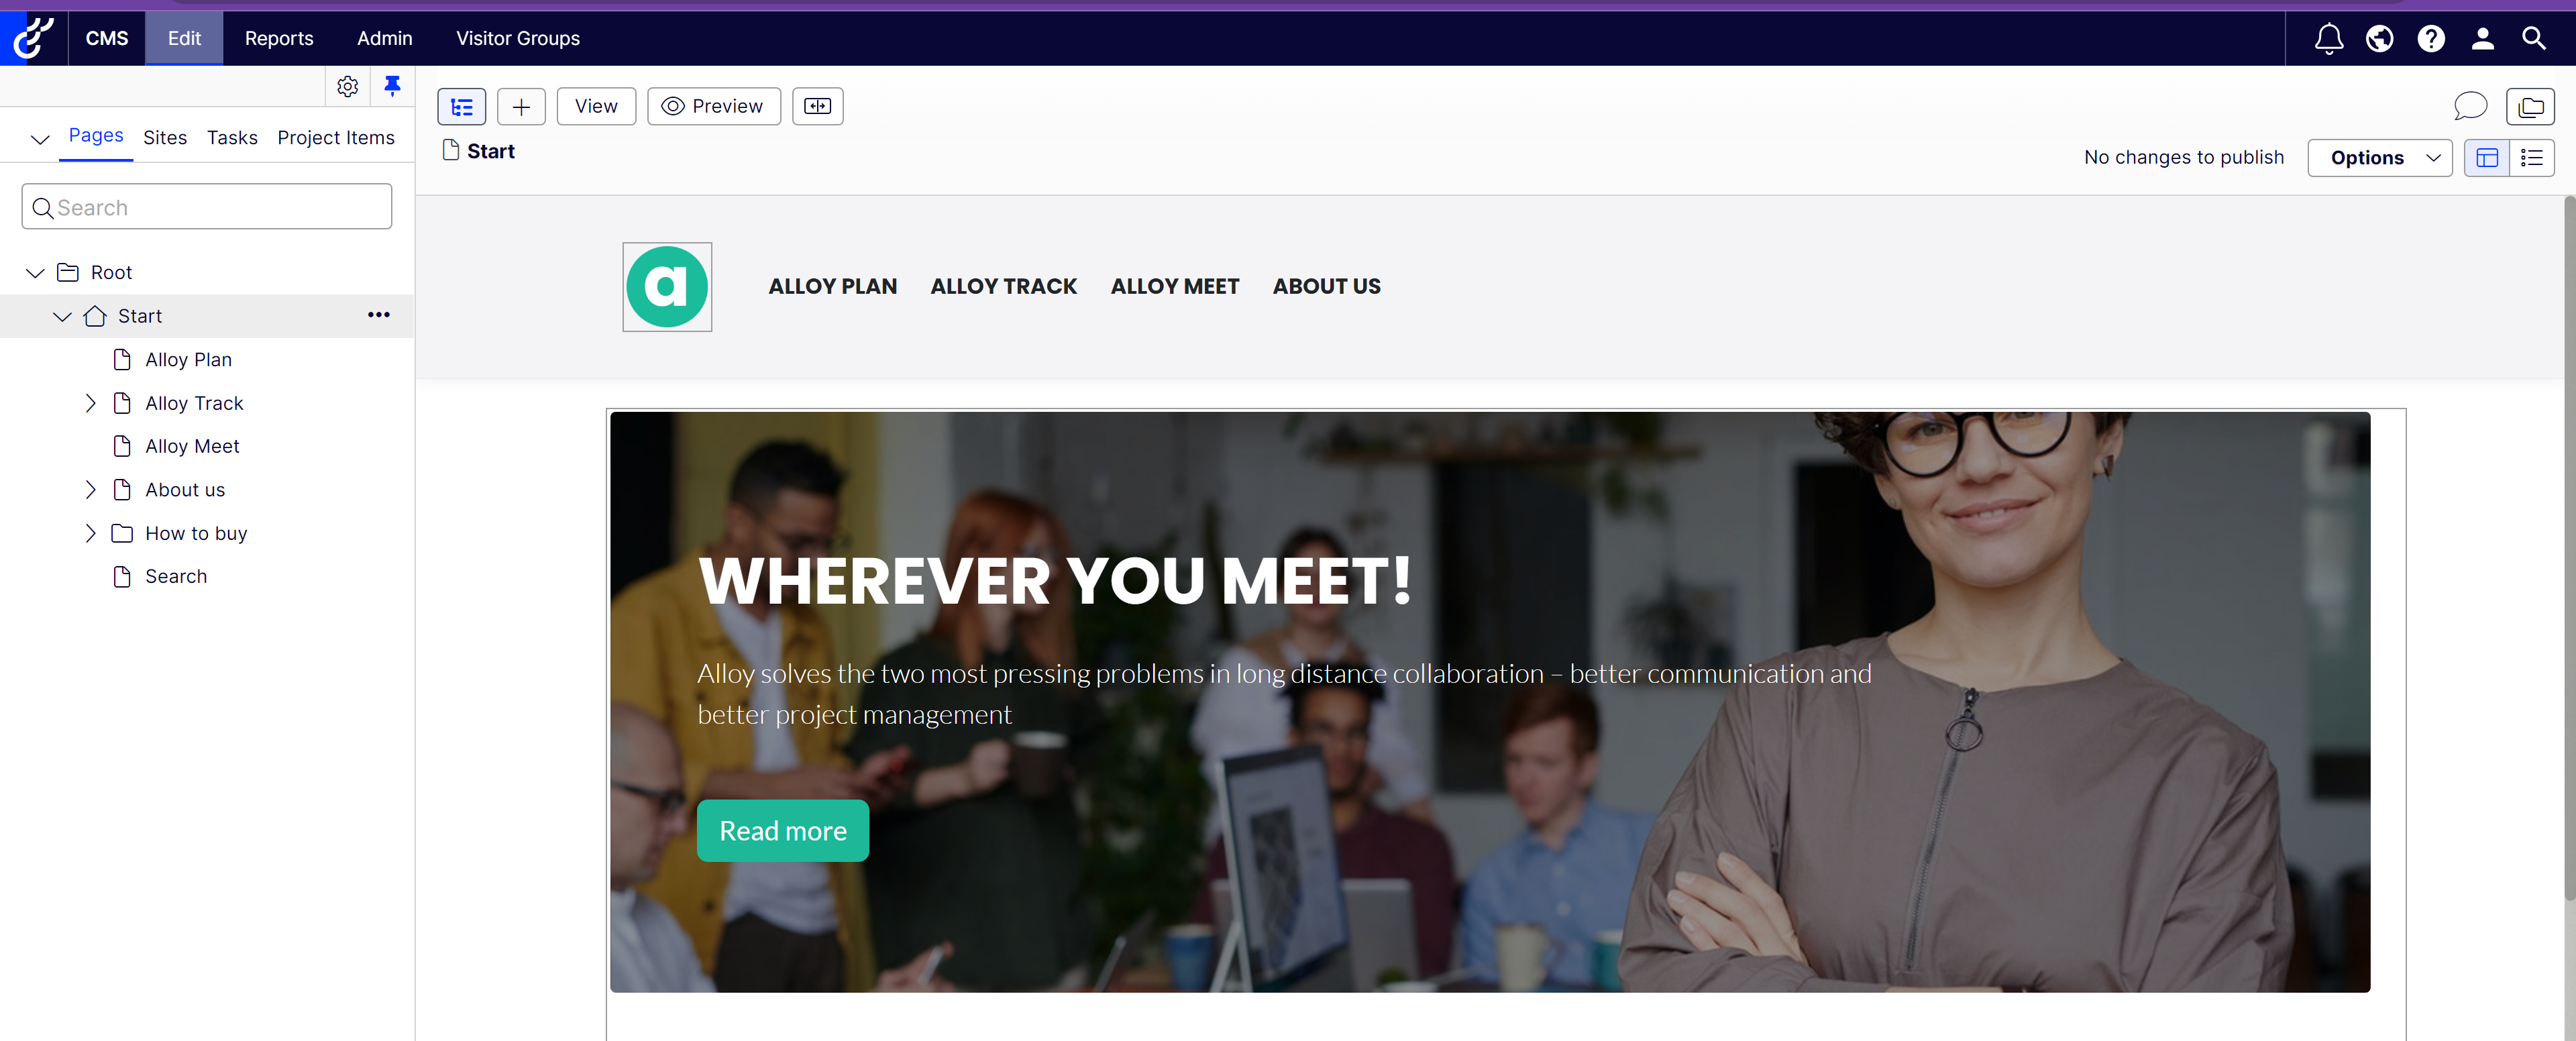
If we navigate to /util/register, we can set up a CMS admin account. Then we can navigate to /util/login with these credentials. Now you will see this button in the top right corner of the homepage:

Now, we are in our CMS and can explore our CMS admin and make changes to our content!
And there we go! We have a local development environment set up for our Optimizely demo site 🙂
In future posts I will explore more in Optimizely solutions.